Micro820 Setup
I’ve neglected my blog already…shame on me. I do have positive news, though. I was able to leverage the documeation and some very helpful folks via email to get the micro820 controller wired. After wiring is was time to actually connect it to the software. Rather than installing Connected Components Workbench directly on my machine, I installed it in a Windows 11 Virtual Machine. On that note, Microsoft disabled downloads of their Windows 11 virtual machine images. However, I was able to download it via the wayback machine. I attempted to roll my own VM, but Microsoft requires a student or business account in order to get their iso images connected to the internet. After getting the VM installed and updated, I installed Connected Components Workbench.
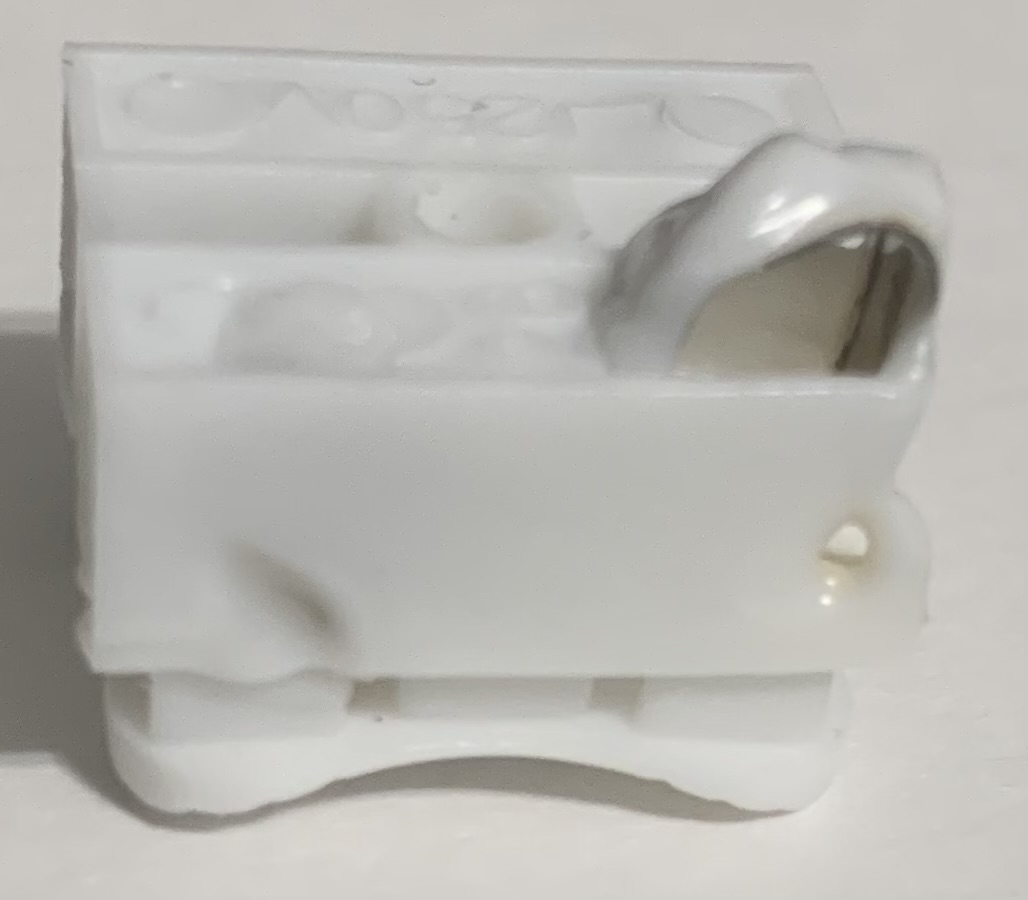
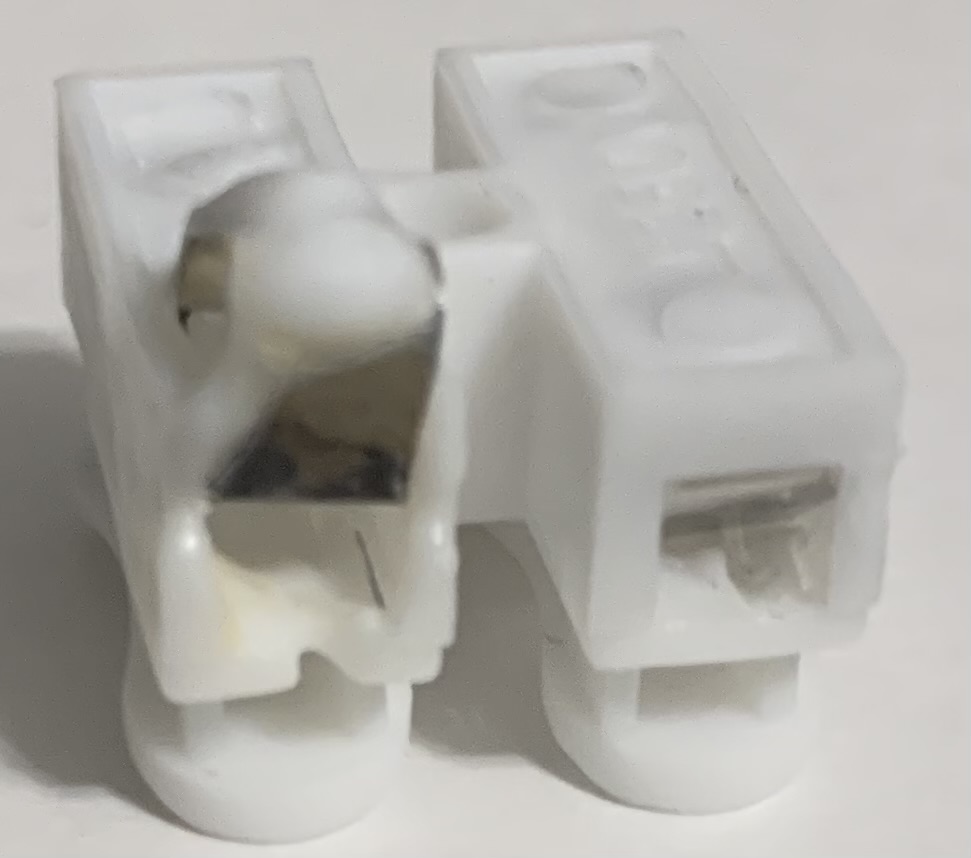
The controller powered on, but my temporary wiring was proving to be a safety hazard as shown in the pictures below. I removed the clips and soldered the PSU connections.
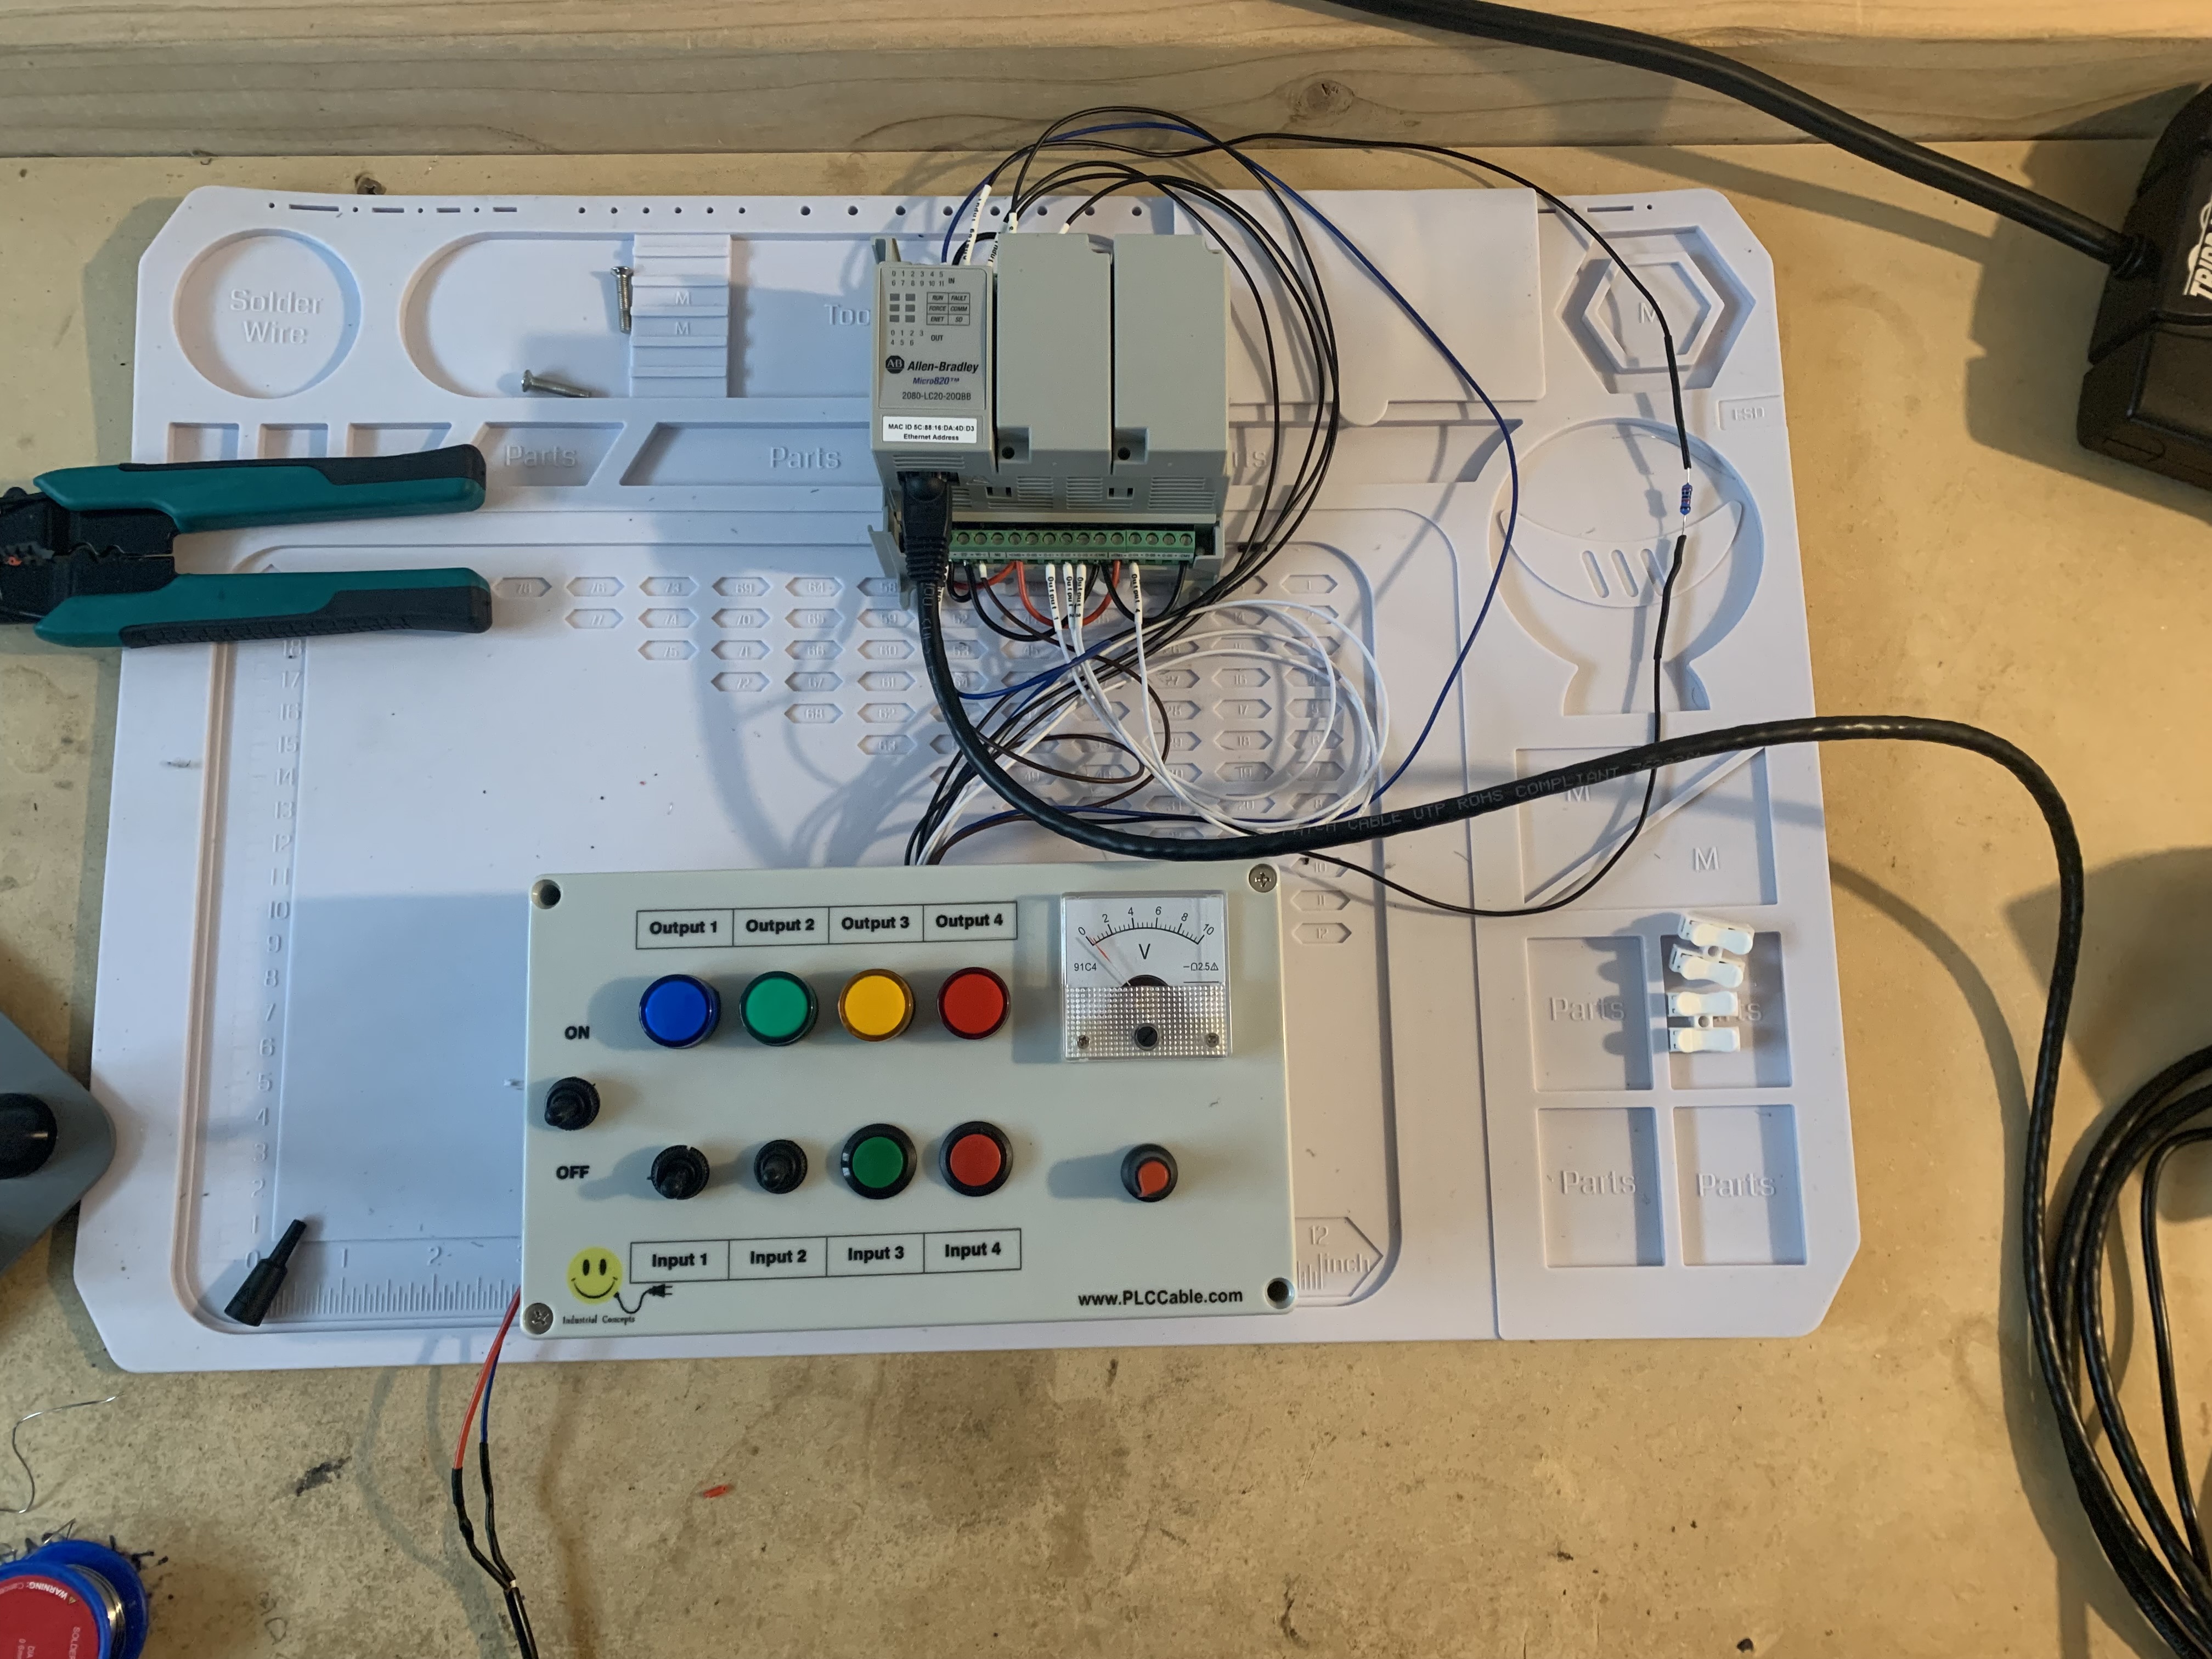
“Finished” Wiring. Excuse the untidiness. I’m somewhat compelled to redo it.
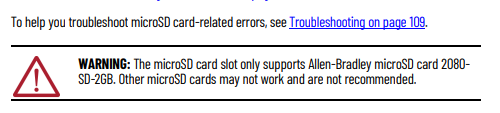
a I decided to get an USB ethernet dongle to use with the VM. This made the networking component a lot easier to deal with. This is mostly true, but the controller is using DHCP rather than a static IP. The documentation indicates that the static IP can be configured via a microSD card. After reviewing the documentation, I gave it a go. Long story short, it did not work. The issue may have been with my config file. It may have also been the microSD card that I was using. According to the documentation, only Allen Bradley brand microSD cards are supported. Those are a little too expensive for just a home lab. It’s a good time to reiterate, READ THE MANUAL. It will save you time and potentially money.
I made a simple program to demonstrate a latching circuit. Though, I now realize the GIF alone doesn’t convey it. That’s it for now. I’ll do my best to keep this updated as I progress.